How Is Artificial Grass Installed?
Crafting a Gorgeous Lawn with Artificial Grass
If the constant upkeep of a natural lawn has become a hassle, consider the solution that artificial grass provides. Curious about the installation process? Fear not! We've put together a straightforward, step-by-step guide to effortlessly transform your outdoor space.
Step 1: Set the Stage
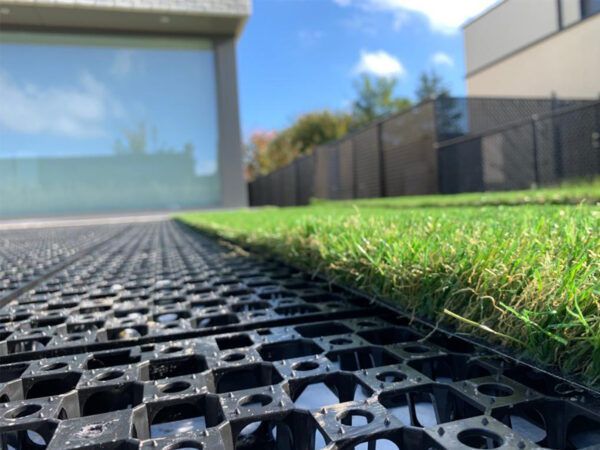
Begin by thoroughly assessing your outdoor area. Clear out any existing grass, debris, or obstacles. Ensure the ground is level and smooth – a sturdy foundation is essential for the optimal growth of artificial grass.
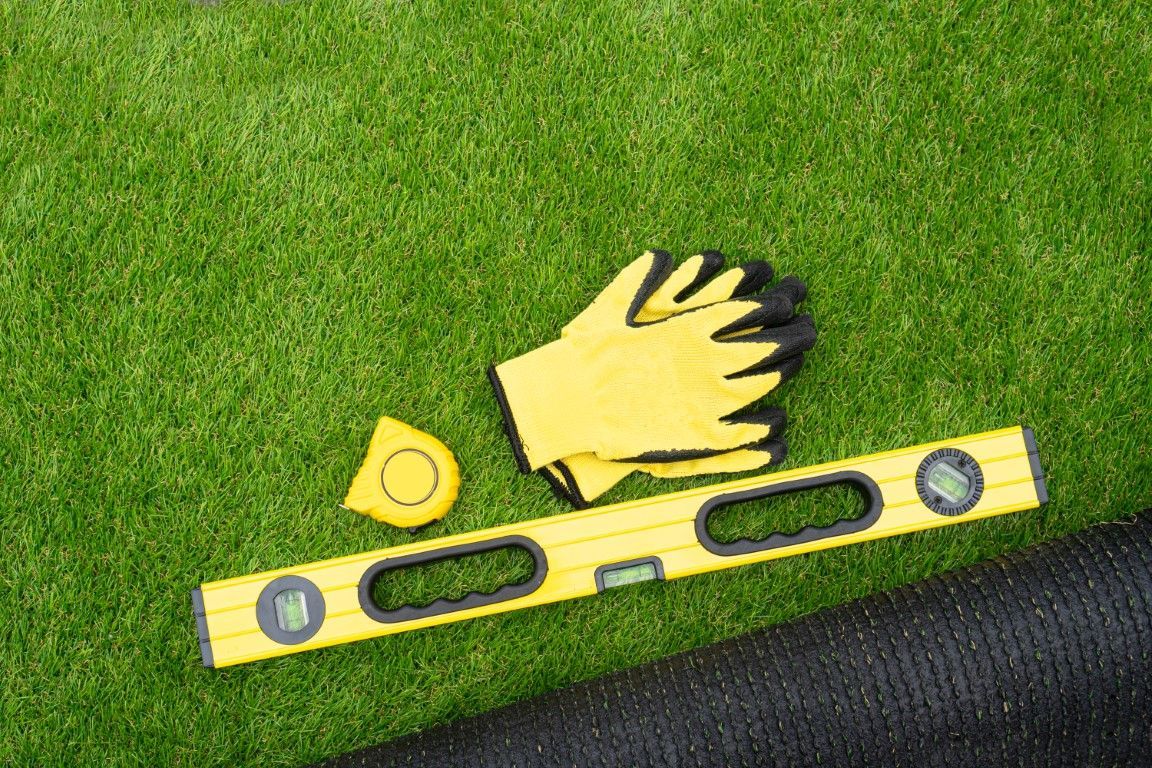
Step 2: Assemble Your Tools
To execute the project successfully, gather the necessary tools and materials. This includes artificial grass, a turf cutter or utility knife, geotextile weed membrane, adhesive, nails or staples, a rake, a vibrating plate compactor, and a stiff brush.
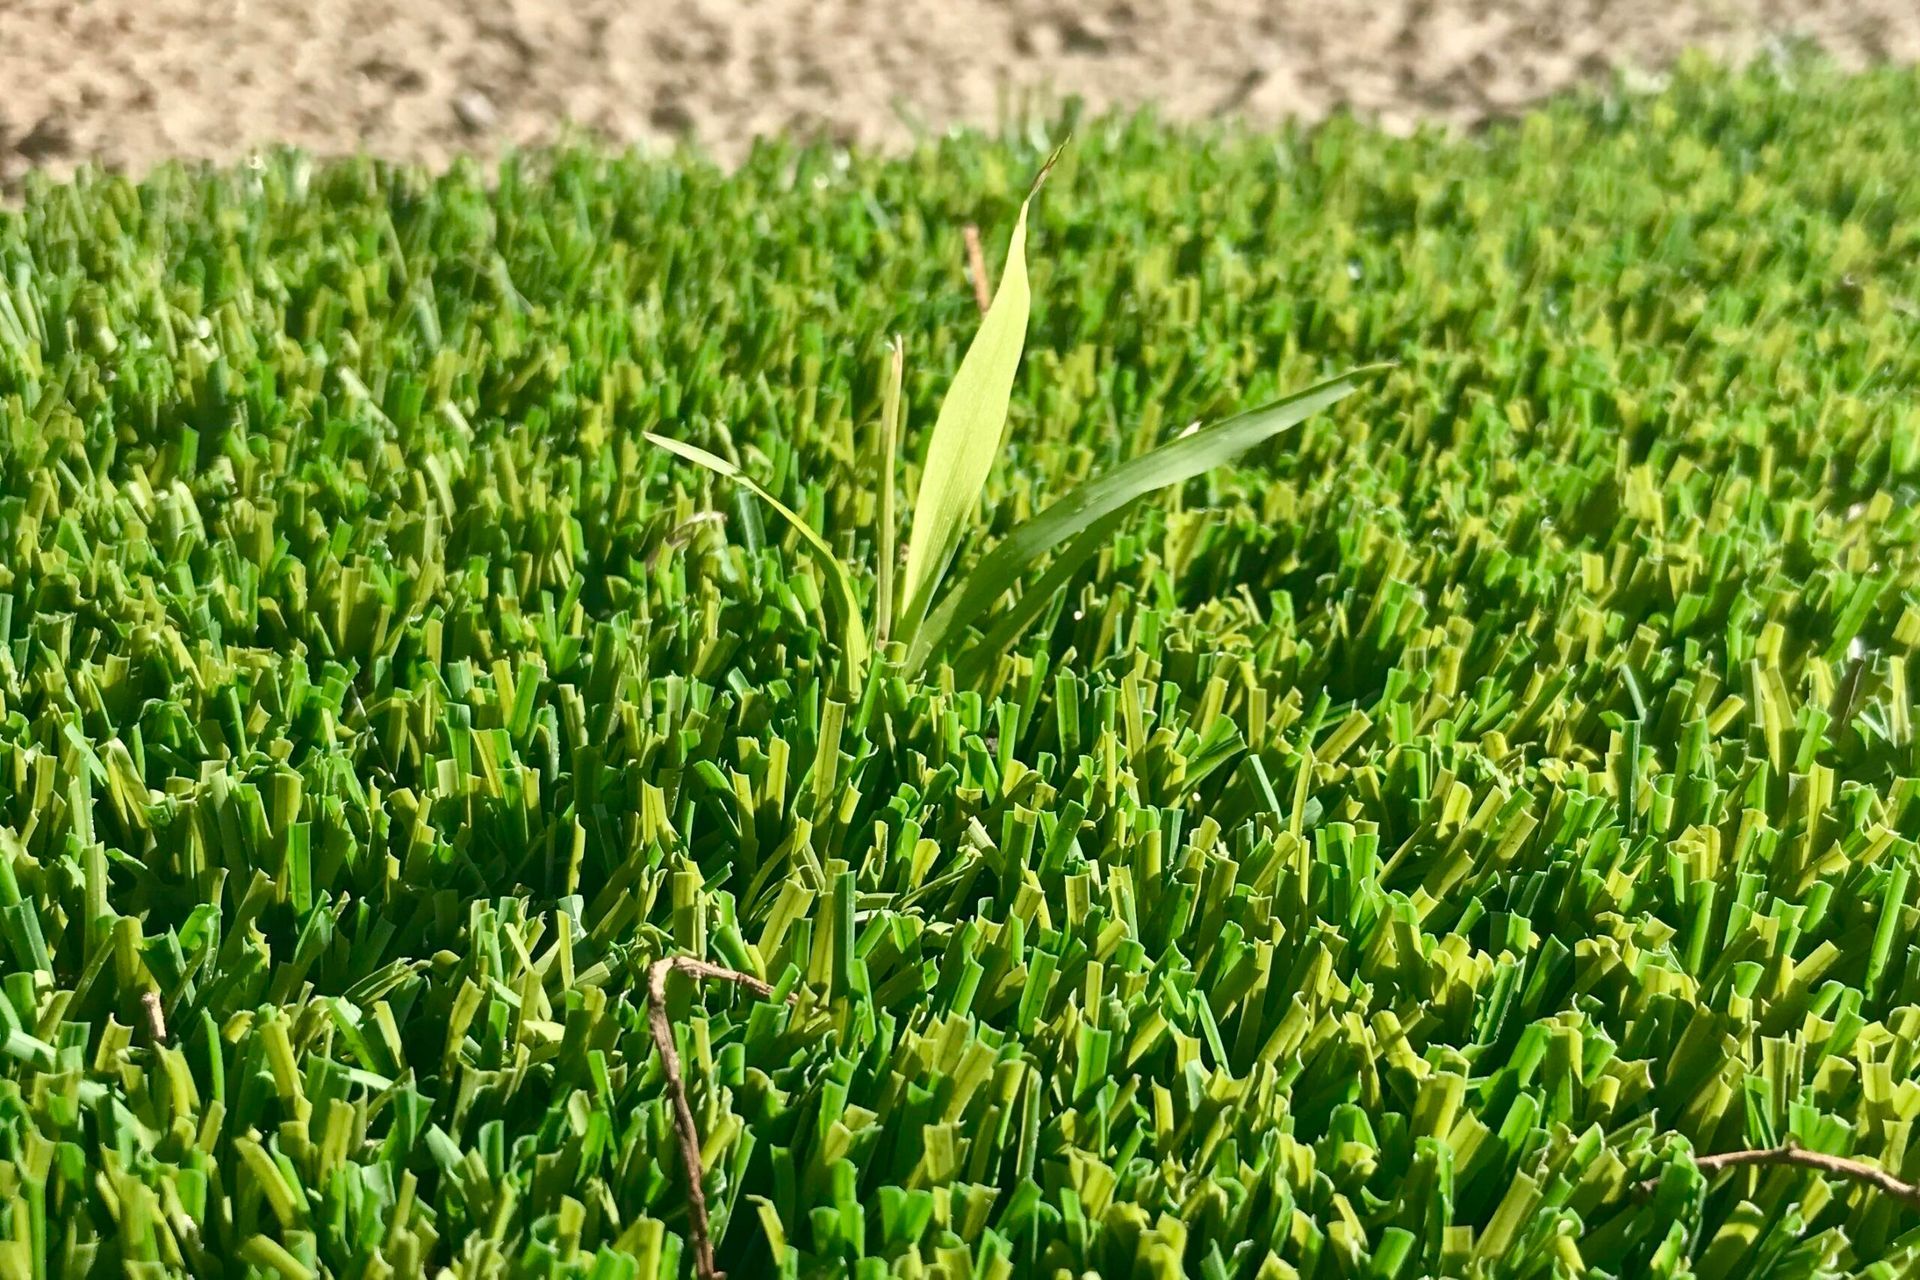
Step 3: Lay the Weed Membrane
Place the geotextile weed membrane over the prepared surface. It acts as a barrier against weeds while facilitating water drainage. Trim it to fit precisely, covering the entire area.
Step 4: Unroll the Artificial Grass
Roll out the artificial grass over the prepared surface. Ensure the blades face the same direction for a natural appearance. Trim any excess edges using a turf cutter or utility knife.
Step 5: Seamlessly Join Multiple Rolls
If your area requires more than one roll of artificial grass, employ adhesive to join the seams. Secure them in place with nails or staples, following the adhesive recommendations provided by the manufacturer.
Step 6: Secure the Edges
Prevent any potential shifting by securing the edges of the artificial grass with nails or staples. Place them a few inches apart along the perimeter.
Step 7: Compact the Surface
Utilize a vibrating plate compactor to press the artificial grass firmly onto the surface. This step ensures a stable base, reducing wrinkles and enhancing overall stability.
Step 8: Integrate Infill Material
If your artificial grass requires infill material like sand or rubber granules, brush it into the fibers. This enhances stability and resilience, providing your lawn with a realistic look and feel.
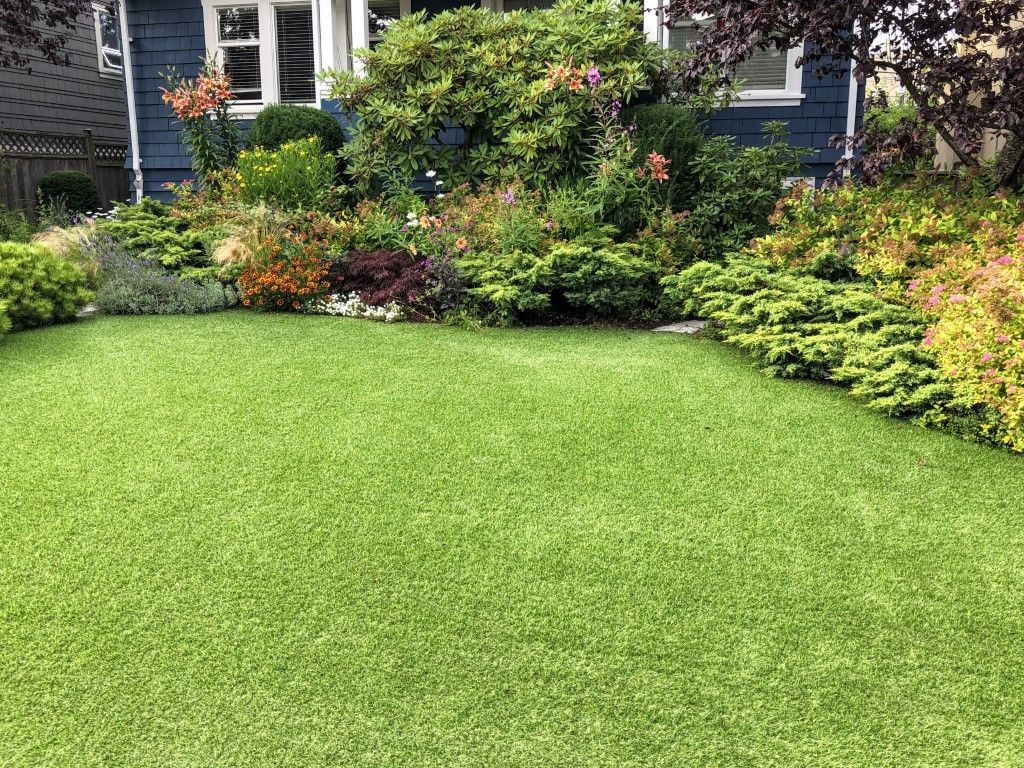
Step 9: Brush for a Natural Appearance
After installation, use a stiff brush to groom the artificial grass. Brush against the grain to lift the fibers, creating a lush, natural appearance. This also ensures an even distribution of infill material.
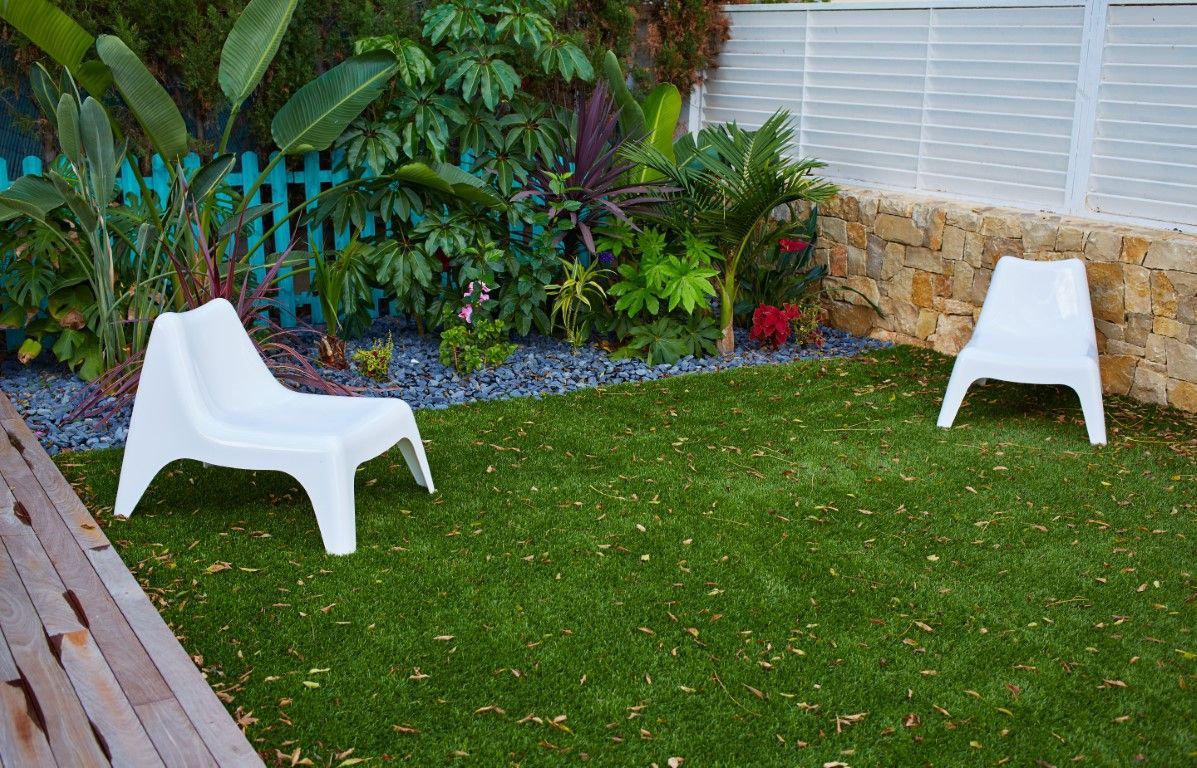
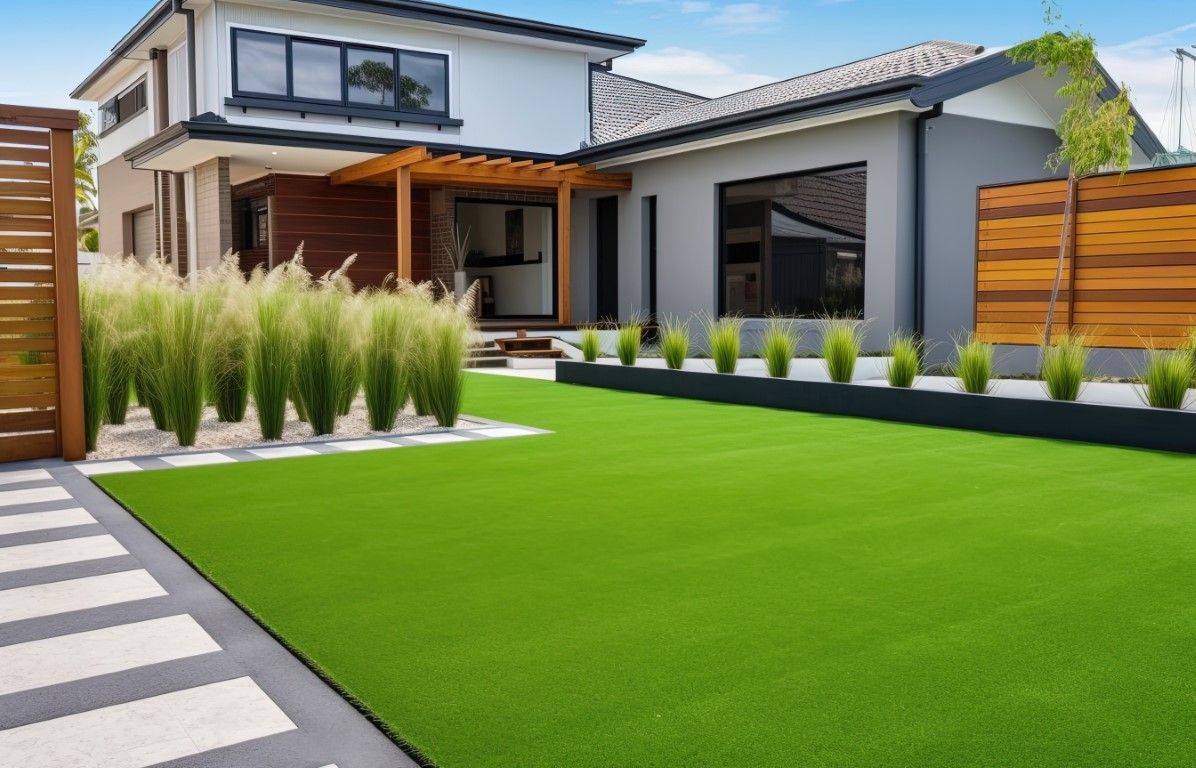
Step 10: Revel in Your Low-Maintenance Lawn
With the installation complete, it's time to relish your newly transformed space. Artificial grass demands minimal maintenance, offering you a green retreat that remains vibrant all year round.
Effortless Greenery at Your Fingertips
Artificial grass installation is a straightforward yet rewarding project, providing you with a stunning, low-maintenance lawn. Whether it's for your backyard, front yard, or any outdoor area, following these steps guarantees a successful transformation. Sit back, relax, and savor the beauty of your lush, green haven – without the hassle of mowing, watering, or fertilizing.